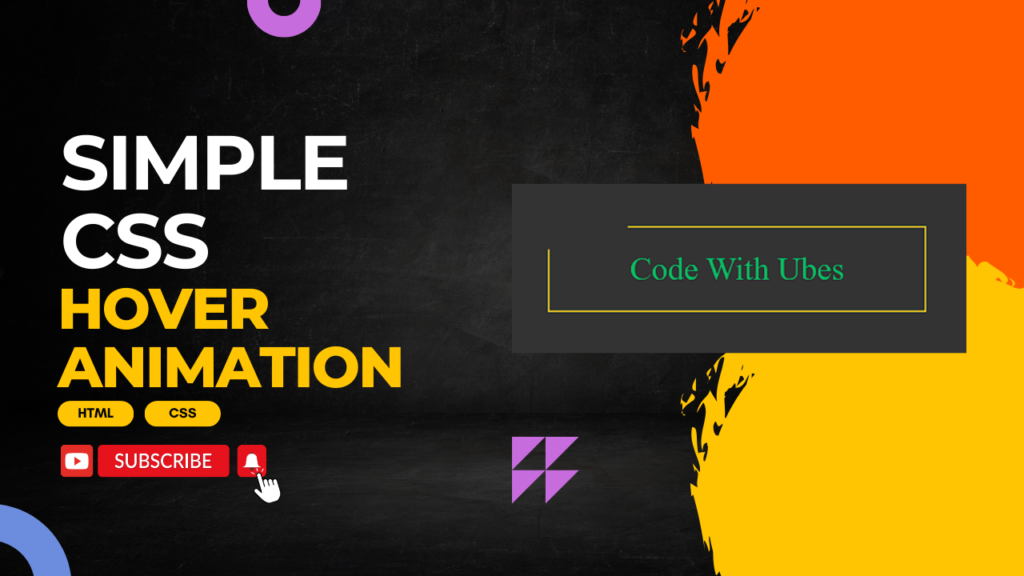
In this tutorial, we’ll walk you through creating a simple yet effective hover animation using CSS. Whether you’re a beginner or looking to enhance your web design skills, this video will guide you through the steps to add interactive and engaging hover effects to your website.
We’ll cover:
- Basic CSS setup
- Keyframe animations
- Smooth transitions
By the end of this tutorial, you’ll be able to create stunning hover animations that will make your website more dynamic and user-friendly.
HTML:
Create an HTML file and add the following code:
<!DOCTYPE html>
<html lang="en">
  <head>
    <meta charset="UTF-8">
    <meta name="viewport" content="width=device-width, initial-scale=1.0">
    <title>Simple CSS Hover Animation</title>
    <link rel="stylesheet" href="styles.css">
  </head>
  <body>
    <div id='svgContainer'>
      <svg width='350' height='80'>
        <rect id='svgShape' width='350' height='80' />
        <h1 id='svgText'>Code With Ubes</h1>
      </svg>
    </div>
  </body>
</html>
CSS:
Create a styles.css file and add the following code:
body {
  background-color: #333;
}

#svgContainer {
  width: 100vw;
  height: 100vw;
  position: relative;
  display: flex;
  justify-content: center;
  align-items: center;
}

svg {
  position: absolute;
  box-shadow: 0px 0px 0px #725951;
}

#svgShape {
  position: relative;
  fill: none;
  stroke: black;
  stroke-width: 6px;
  stroke: #edc524;
  stroke-dasharray: 213 500;
  stroke-dashoffset: -500;
  transition: stroke-width 1s, stroke-dasharray 1s, stroke-dashoffset 1s;
}

svg:hover #svgShape {
  stroke-width: 3px;
  stroke-dasharray: 860;
  stroke-dashoffset: 0;
}

#svgText {
  position: relative;
  font-size: 30px;
  font-weight: 100;
  z-index: -1;
  color: #00bf63;
}
Happy coding!


Thanks for finally talking about > Simple CSS Hover Animation – Code With Ubes < Liked it!